

The major purpose of any roof is to protect everything under it from the elements. For many, the only time they think about their roof is when it fails to keep the rain out. Many people see the roof as a single thing, a layer of shingles nailed to a wooden plane. But it’s a lot more complex than that. Most roofs aren’t a simple uninterrupted plane. They have ridges and valleys where two planes meet. They have holes cut into them for chimneys, vents, and skylights and the edges of the roof themselves. These areas are vulnerable not only due to the edge of the shingles, but also because these areas are under additional strain when it rains. These areas are where the water channels and pushes extra hard at many of these locations. This is where roof flashing becomes critical to the roof’s ability to protect your home.
What is Roof Flashing?
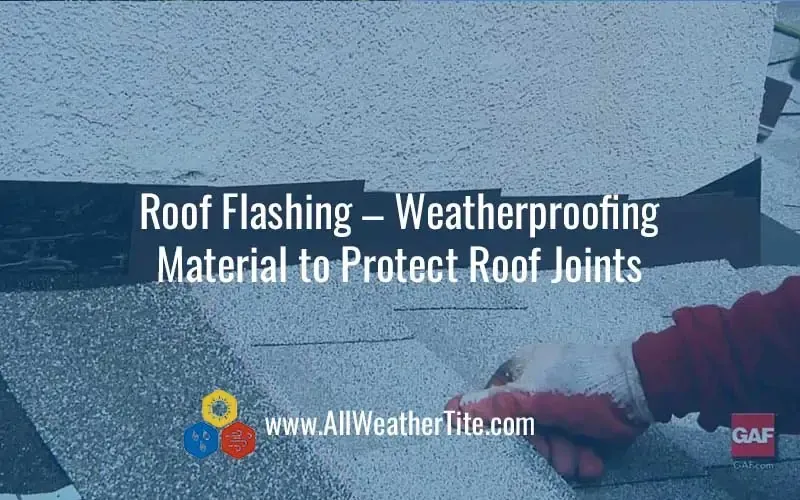
Roof flashing is a weatherproofing material designed to go over the joints in a roof. It is usually made of galvanized steel or aluminum, though copper and zinc are also sometimes used. Flexible synthetics such as rubberized asphalt, butyl rubber and acrylic are also used, depending on the circumstance. After cutting the flashing into the desired shape, you place this material over the joint and under the shingle. You then secure the flashing to the roof with roofing staples or nails. Some exact methods of installation change depending on the joint(s) the flashing is securing.
Typical Locations of Roof Flashing
You should install flashing anywhere there is a break in the roof into which water might seep. Few roofs can get away with only flashing where two roofing planes meet. Many roofs have multiple gaps due to the home’s chimney, kitchen vent, or the occasional skylight.
Here are common locations for flashing, and how the flashing installation differs from location to location.
Chimney:
The chimney uses two types of flashing methods. On the front and back where it is level with the roof it uses continuous flashing, but on the sides it uses the step method. L-shaped sections of flashing as wide as the length of shingles are layered overlapping beneath the shingles with the angle of the flashing resting against the chimney, forming “steps” up the side.
Valley or Ridge:
Whenever two major planes meet, such as the ridgeline of the roof or a valley from a porch extension, they form a long line joint. This joint needs to be capped. These flashings are always underneath the shingle.
Vents:
The venting pipes tend to be circular in nature, which would defeat the traditional flashing. Most vents come with their own flashing cover. The contractor installs this cover over the vent and then covers it with shingles cut to fit.
Skylights and Dormers:
With these large box designs, the front is a continuous flashing. Dormers have step flashing on sides. Skylights usually have specially cut flashing for the corners to provide additional durability from leaks.
Sheathing: Where the roof ends and paint begins is a last line of flashing, a cusp going around the perimeter of the roof and preventing water from seeping into the wood of the overhang.
The proper way to install flashing
We hope this answered your questions about exactly what roof flashing is and what it does. If you have any additional questions about roofing – roof flashing or otherwise – or are in need of repair or replacement of your roof flashing, shingles, roof, or would like a free estimate on the state of your roof, please contact All Weather Tite and we’ll get someone out to help you, in a flash!
Latest Posts
Have any questionS?
Reach out to our roofing specialists for more answers on the various options for your home.